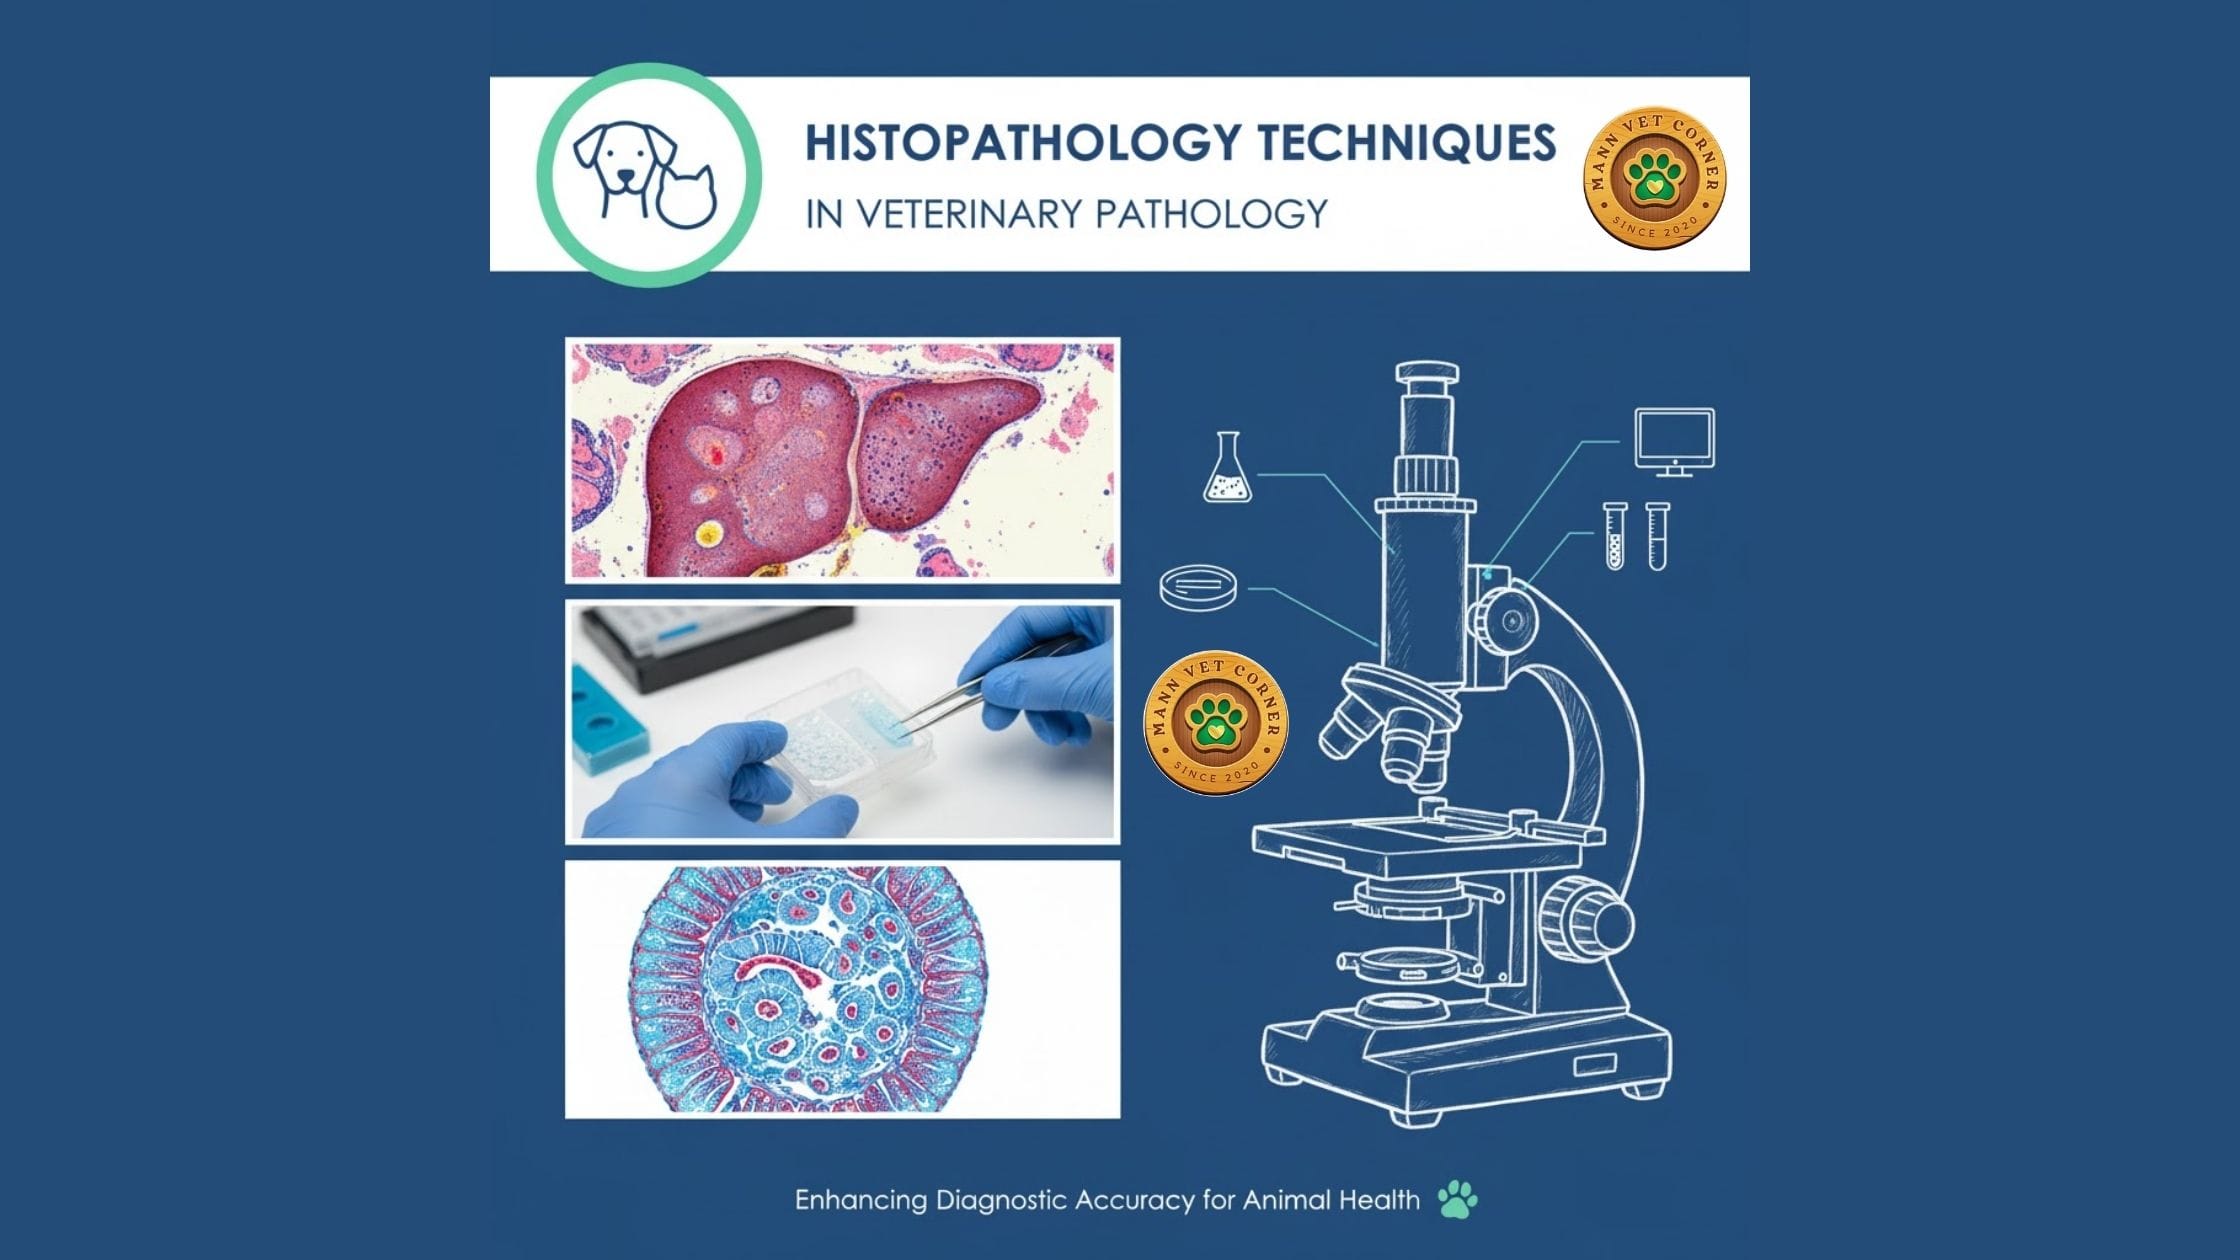
Complete Guide for Animal Disease Diagnosis
Veterinary professionals rely on histopathology as their primary diagnostic tool when examining animal tissues for disease. This microscopic examination method reveals cellular abnormalities, cancerous conditions, and tissue damage that remain invisible to the naked eye. Understanding proper tissue preparation and staining techniques makes the difference between accurate diagnosis and missed pathology in the histopathology techniques in veterinary pathology.
What is Histopathology in Veterinary Medicine?
Histopathology combines microscopic tissue examination with disease diagnosis in veterinary practice. Veterinarians and pathologists prepare animal tissue samples through specialized processing methods to identify infections, tumors, inflammatory conditions, and degenerative diseases affecting livestock, companion animals, and wildlife.
Key Branches of Veterinary Histotechnology
Histology examines normal tissue structure in healthy animals, establishing baseline cellular architecture for comparison.
Histopathology identifies disease-related tissue changes, helping diagnose conditions ranging from bacterial infections to malignant tumors.
Histochemistry reveals chemical composition within tissue structures, detecting abnormal mineral deposits or enzyme activity.
Cytochemistry focuses on cellular chemical components, essential for diagnosing metabolic disorders in animals.
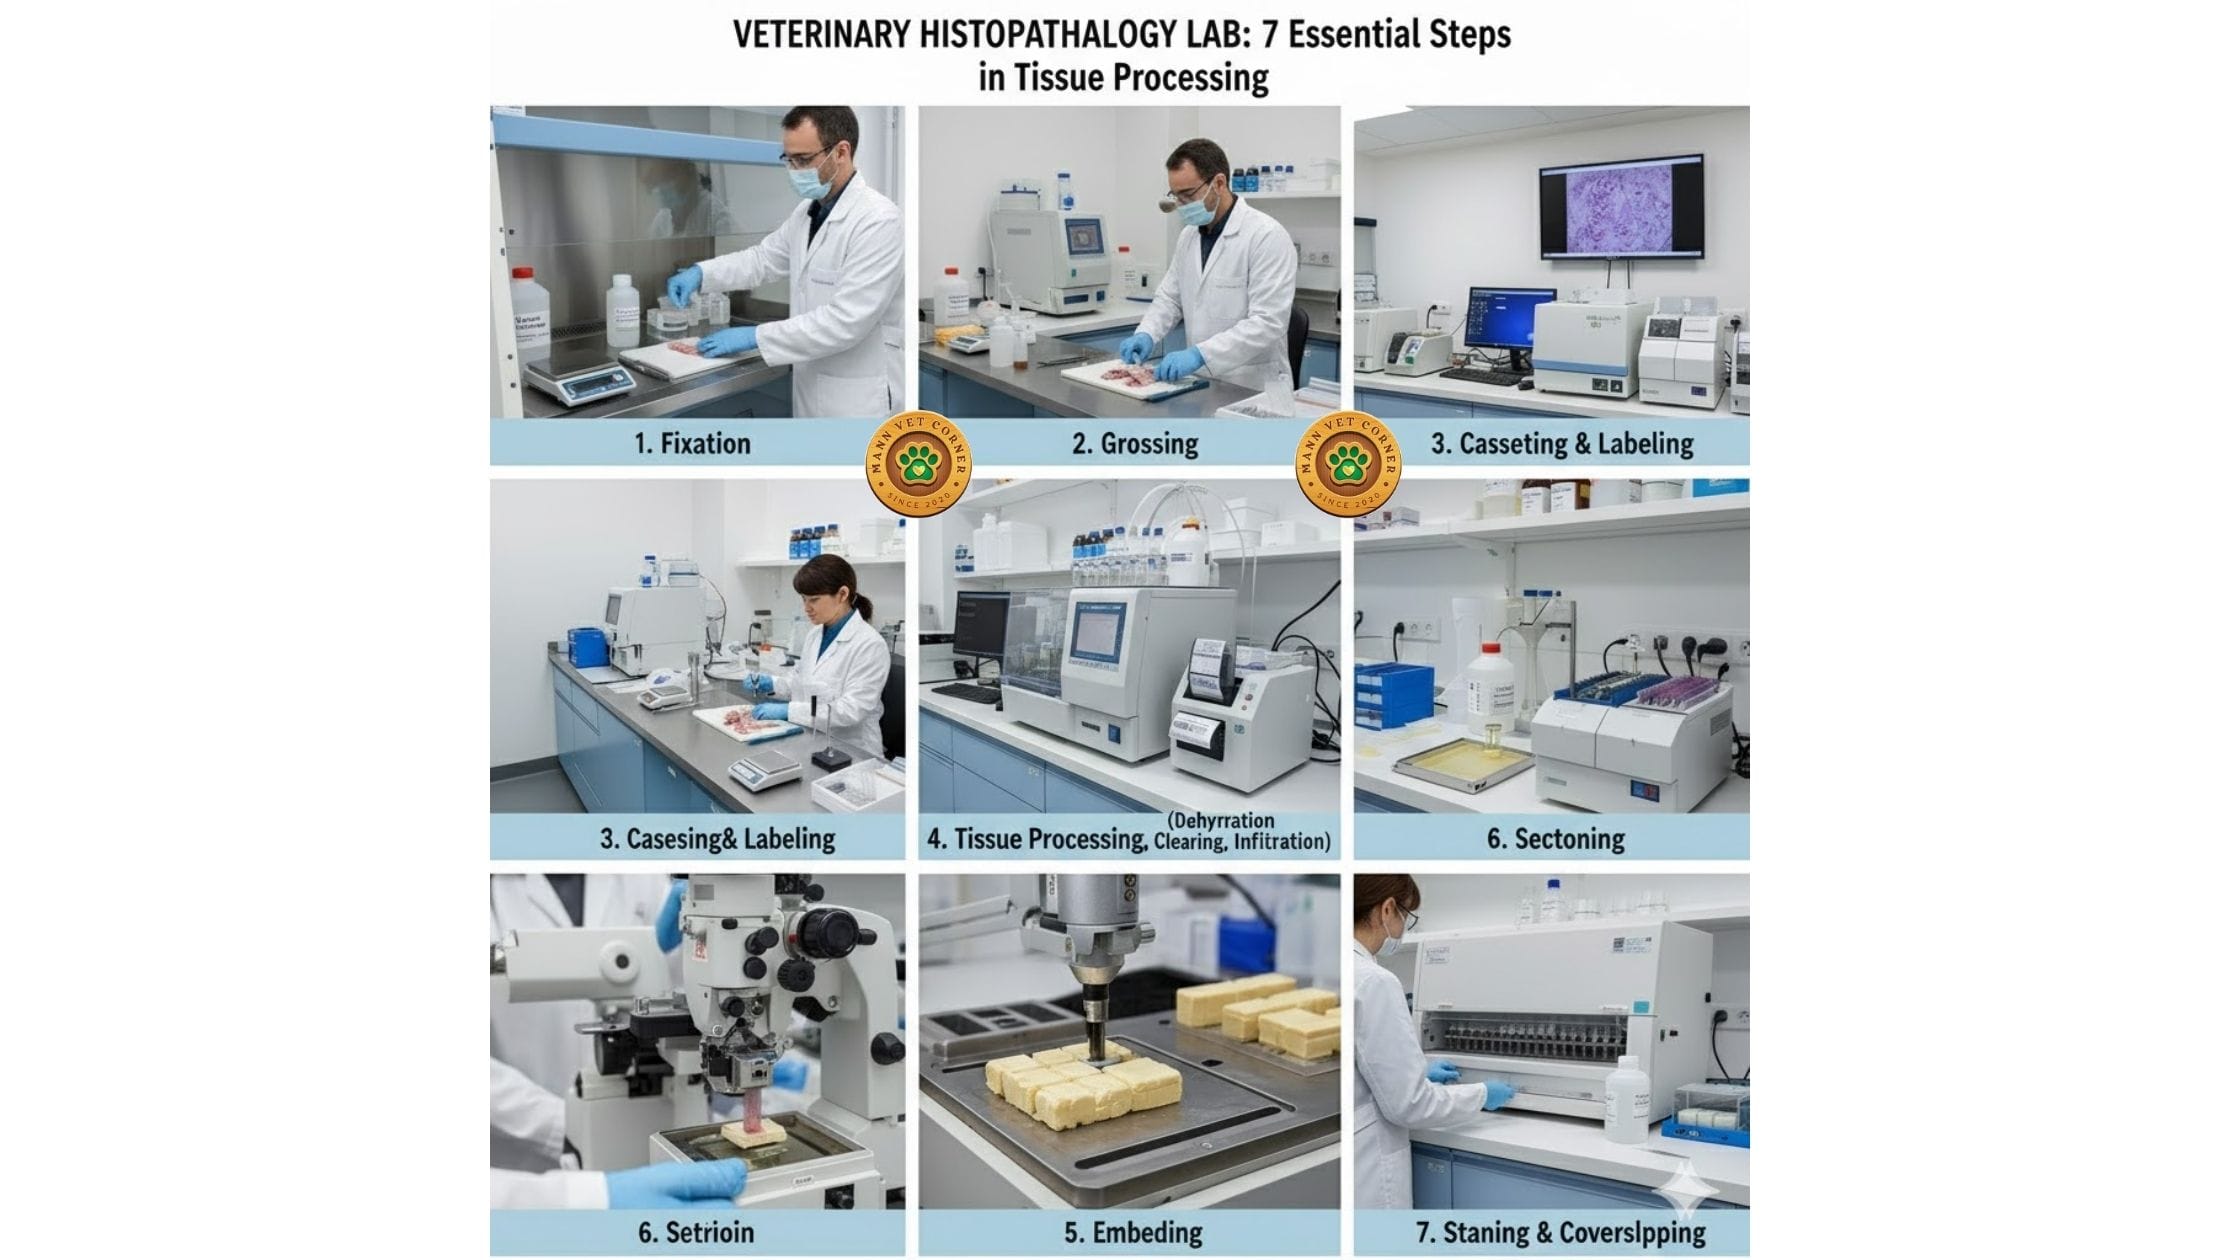
The 7 Essential Steps in Veterinary Tissue Processing
Proper tissue processing ensures accurate microscopic examination. Each step builds upon the previous one, creating high-quality samples that reveal diagnostic information.
1. Tissue Fixation: Preserving Cellular Structure
Fixation stops tissue decomposition immediately after collection. Veterinary pathologists place fresh tissue samples in fixative solutions within minutes of collection to prevent cellular breakdown.
Formalin fixation serves as the gold standard in veterinary pathology. Technicians immerse tissue sections no thicker than 5mm in 10% buffered formalin, allowing one millimeter per hour penetration rate. A typical tissue sample requires approximately six hours for complete fixation.
The fixative achieves four critical goals:
- Kills and preserves living tissue cells
- Stabilizes cellular and tissue structure
- Hardens tissue for section cutting
- Prepares tissue components for staining procedures
2. Dehydration: Removing Water Content
Water removal prepares tissues for wax infiltration. Technicians pass fixed tissues through graduated alcohol concentrations—70%, 95%, and 100%—replacing aqueous formalin systematically. This gradual progression prevents tissue shrinkage and distortion.
Alternative dehydration methods include acetone and dioxane, though alcohol remains most common in veterinary laboratories.
3. Clearing: Making Tissue Transparent
Clearing agents replace alcohol with substances miscible with paraffin wax. Xylene dominates veterinary histology laboratories, though benzene, toluene, and chloroform serve as alternatives. This step removes the final alcohol traces, making tissues translucent and ready for wax penetration.
4. Embedding: Supporting Tissue Structure
Molten paraffin wax infiltrates cleared tissues, providing structural support for thin sectioning. Technicians pour liquid wax into molds containing tissue samples, creating solid blocks once cooled. These paraffin blocks hold tissue firmly during the cutting process.
5. Microtomy: Creating Thin Tissue Sections
Microtomes slice paraffin-embedded tissues into ribbons 3-10 microns thick. These ultra-thin sections allow light transmission during microscopic examination. Technicians float cut sections on heated water baths, removing wrinkles before transferring them onto glass slides.
Common sectioning artifacts include:
- Air bubbles trapped under tissue
- Stretched or compressed sections
- Incomplete tissue adhesion to slides
6. Staining: Adding Contrast for Visualization
Unstained tissues appear nearly transparent under microscopes. Staining procedures add color contrast, distinguishing nuclei from cytoplasm and revealing cellular details. The process transforms invisible structures into clearly visible diagnostic features.
7. Mounting: Permanent Slide Preparation
Cover slips sealed with mounting medium protect stained sections. Canada balsam or synthetic mounting media preserve specimens indefinitely, creating permanent reference slides for future examination and consultation.
Understanding Veterinary Histopathology Stains
Staining transforms colorless tissue sections into diagnostic tools. Different stains target specific cellular components, revealing pathological changes invisible in unstained preparations.
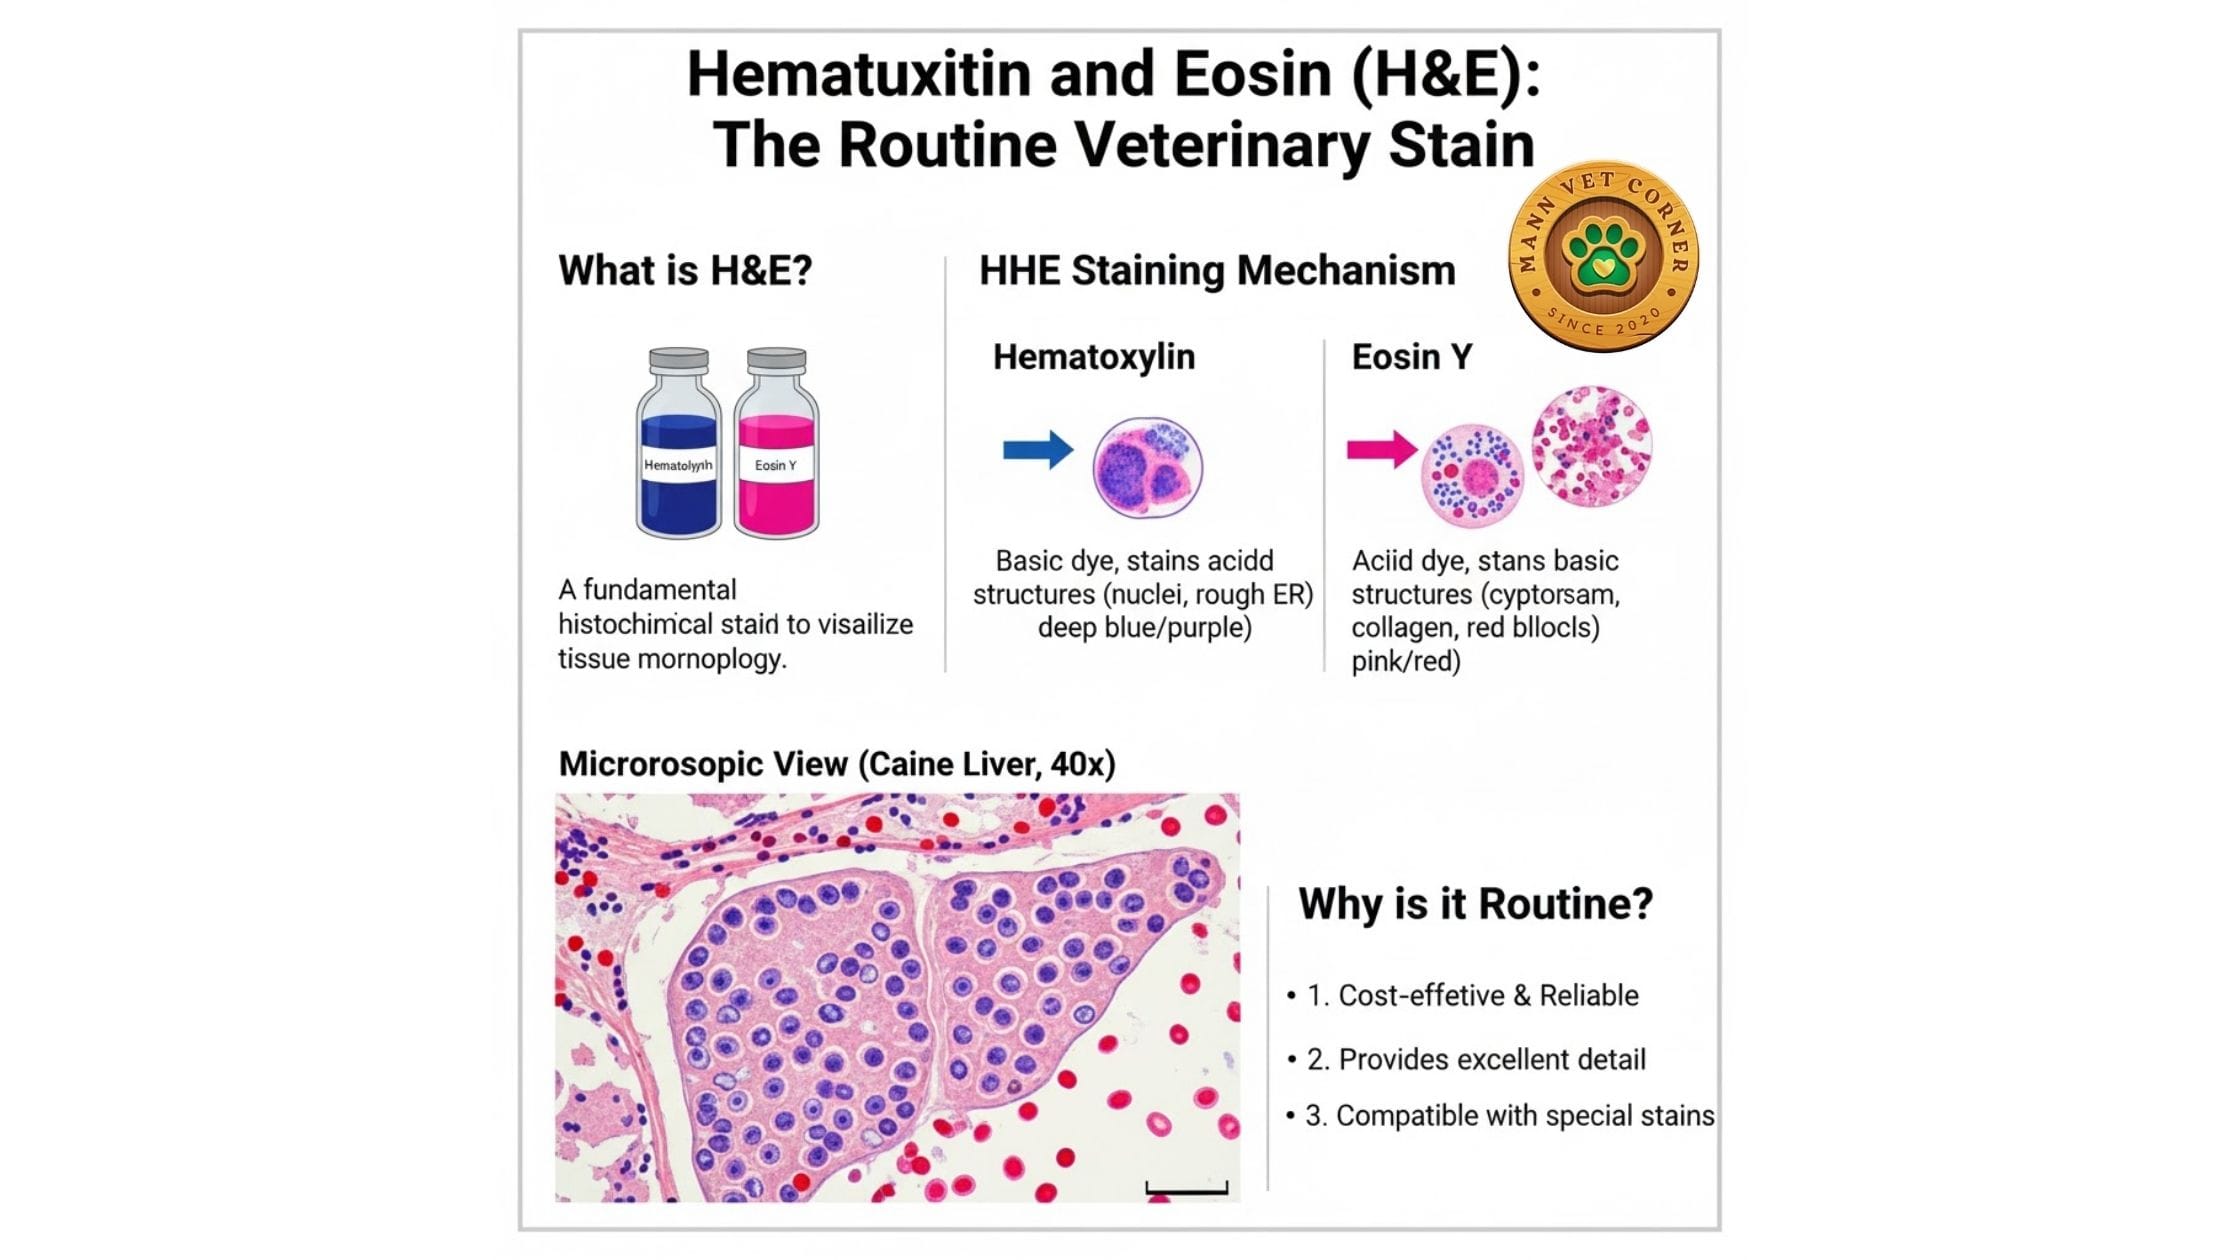
Hematoxylin and Eosin (H&E): The Routine Veterinary Stain
H&E staining dominates veterinary diagnostic laboratories. This dual-stain combination colors different tissue elements distinctly:
Hematoxylin acts as a basic dye, extracted from logwood trees and oxidized with aluminum mordants. It stains acidic cellular structures—nuclei, ribosomes, and rough endoplasmic reticulum—purplish-blue.
Eosin functions as an acidic dye formed through bromine-fluorescein reactions. It colors basic structures—cytoplasm, cell walls, and extracellular fibers—pink to red.
Veterinary pathologists examine H&E slides first, using them to screen for abnormalities before applying specialized stains.
The H&E Staining Process for Veterinary Samples
1: Dewaxing Xylene dissolves paraffin wax surrounding tissue elements, exposing cellular structures.
2: Hydration Graded alcohols remove xylene, followed by thorough water rinsing. Hydrated sections readily accept aqueous staining solutions.
3: Nuclear Staining Harris hematoxylin penetrates tissues, initially staining nuclei and chromatin reddish-purple.
4: Counterstaining Eosin solution colors cytoplasm and extracellular structures various pink shades.
5: Dehydration and Clearing Alcohol removes water, then xylene clears tissues to complete transparency.
6: Mounting Mounting medium and cover slips seal preparations for microscopic examination.
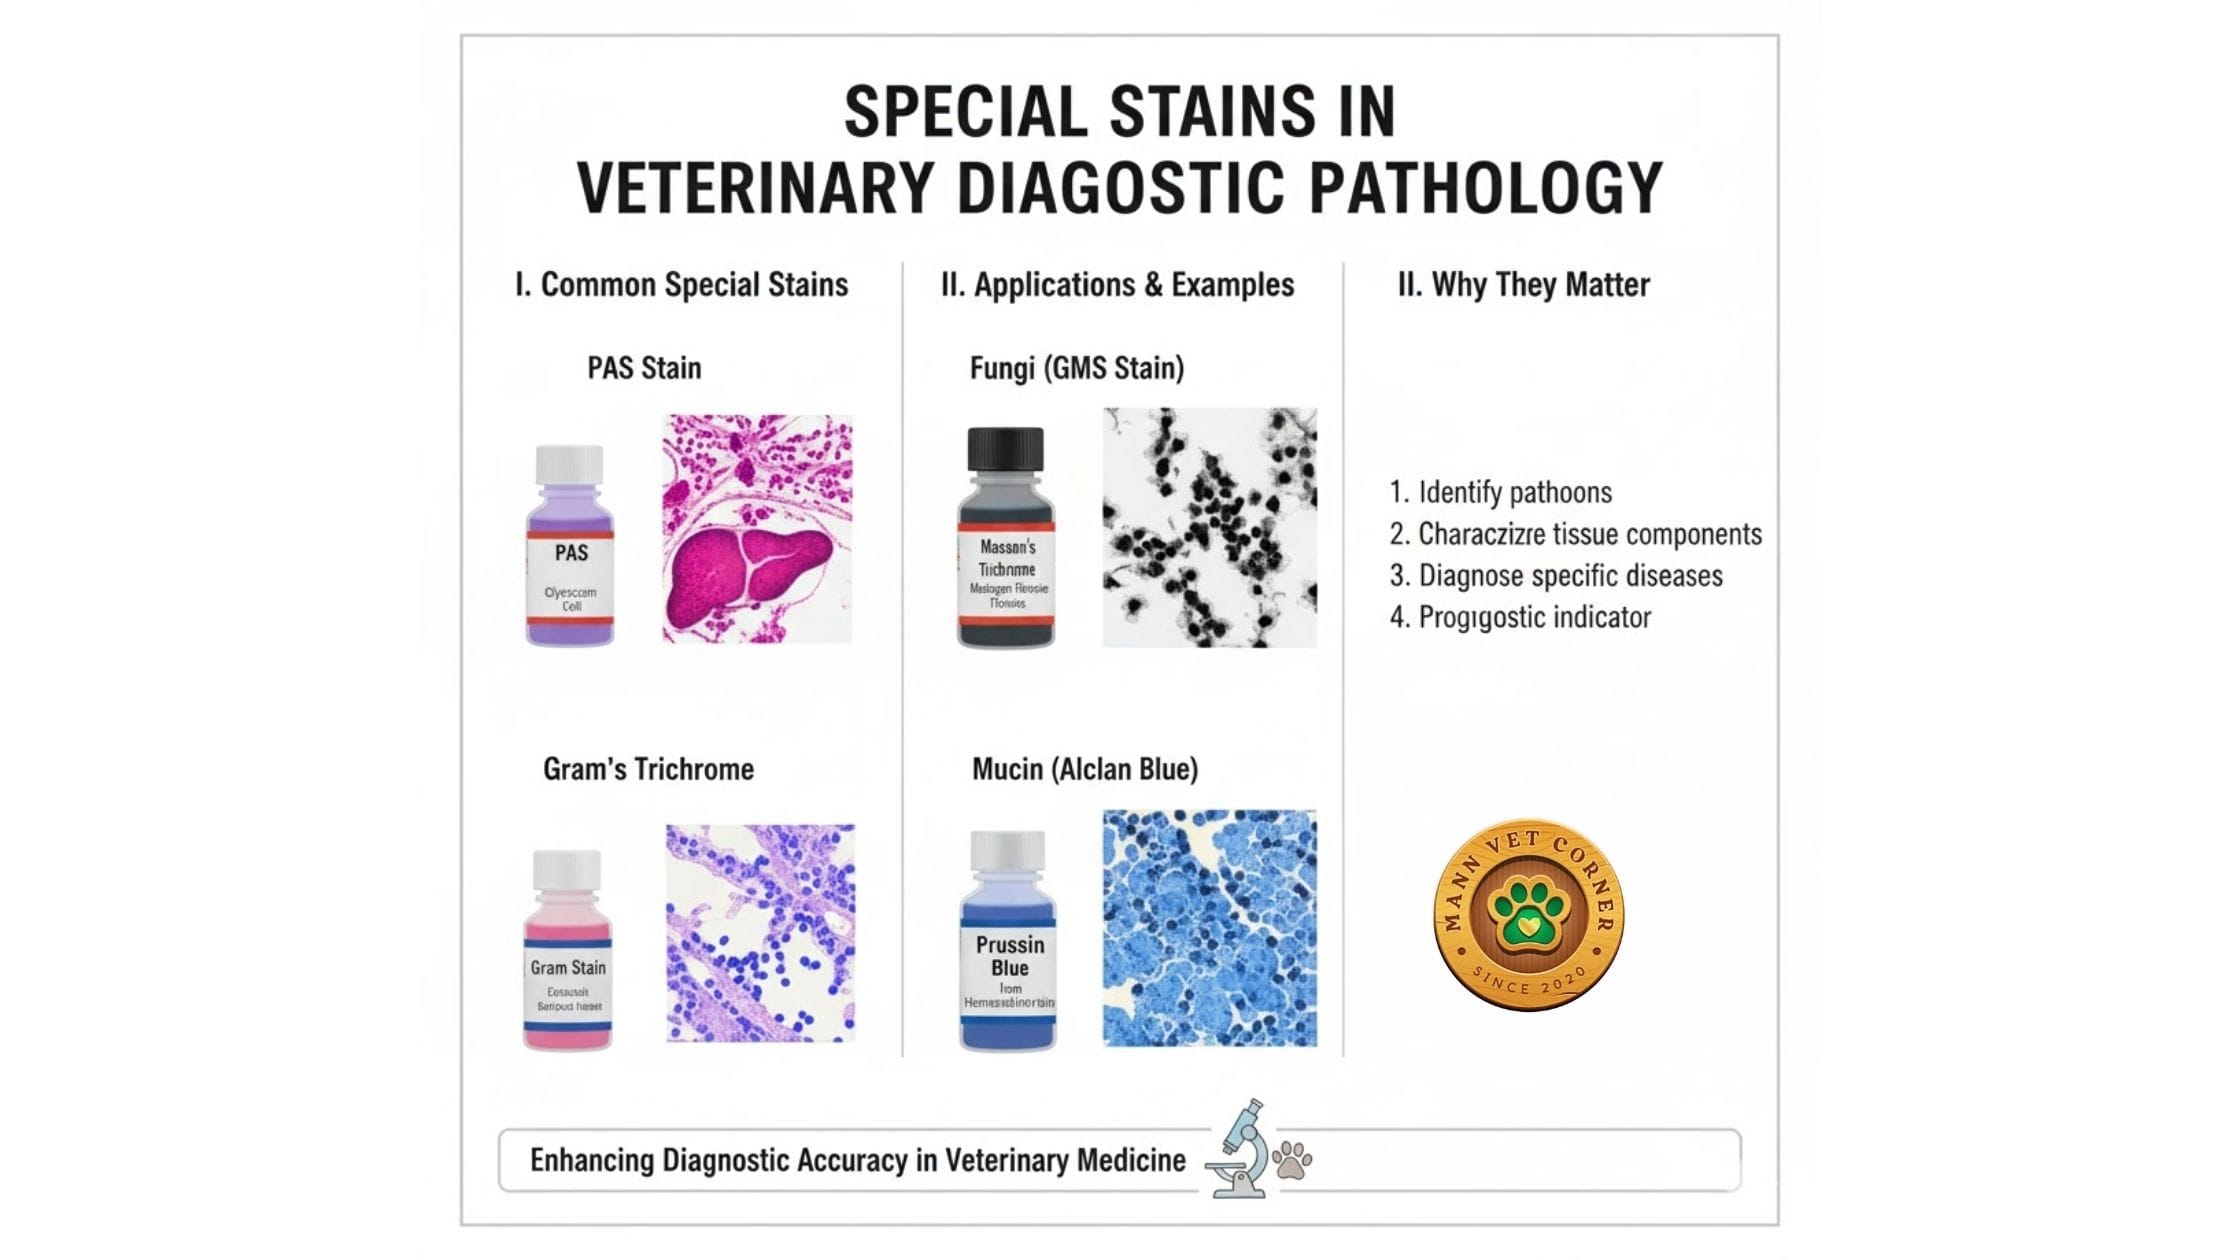
Special Stains in Veterinary Diagnostic Pathology
Beyond routine H&E staining, veterinary laboratories employ specialized techniques for specific diagnostic purposes.
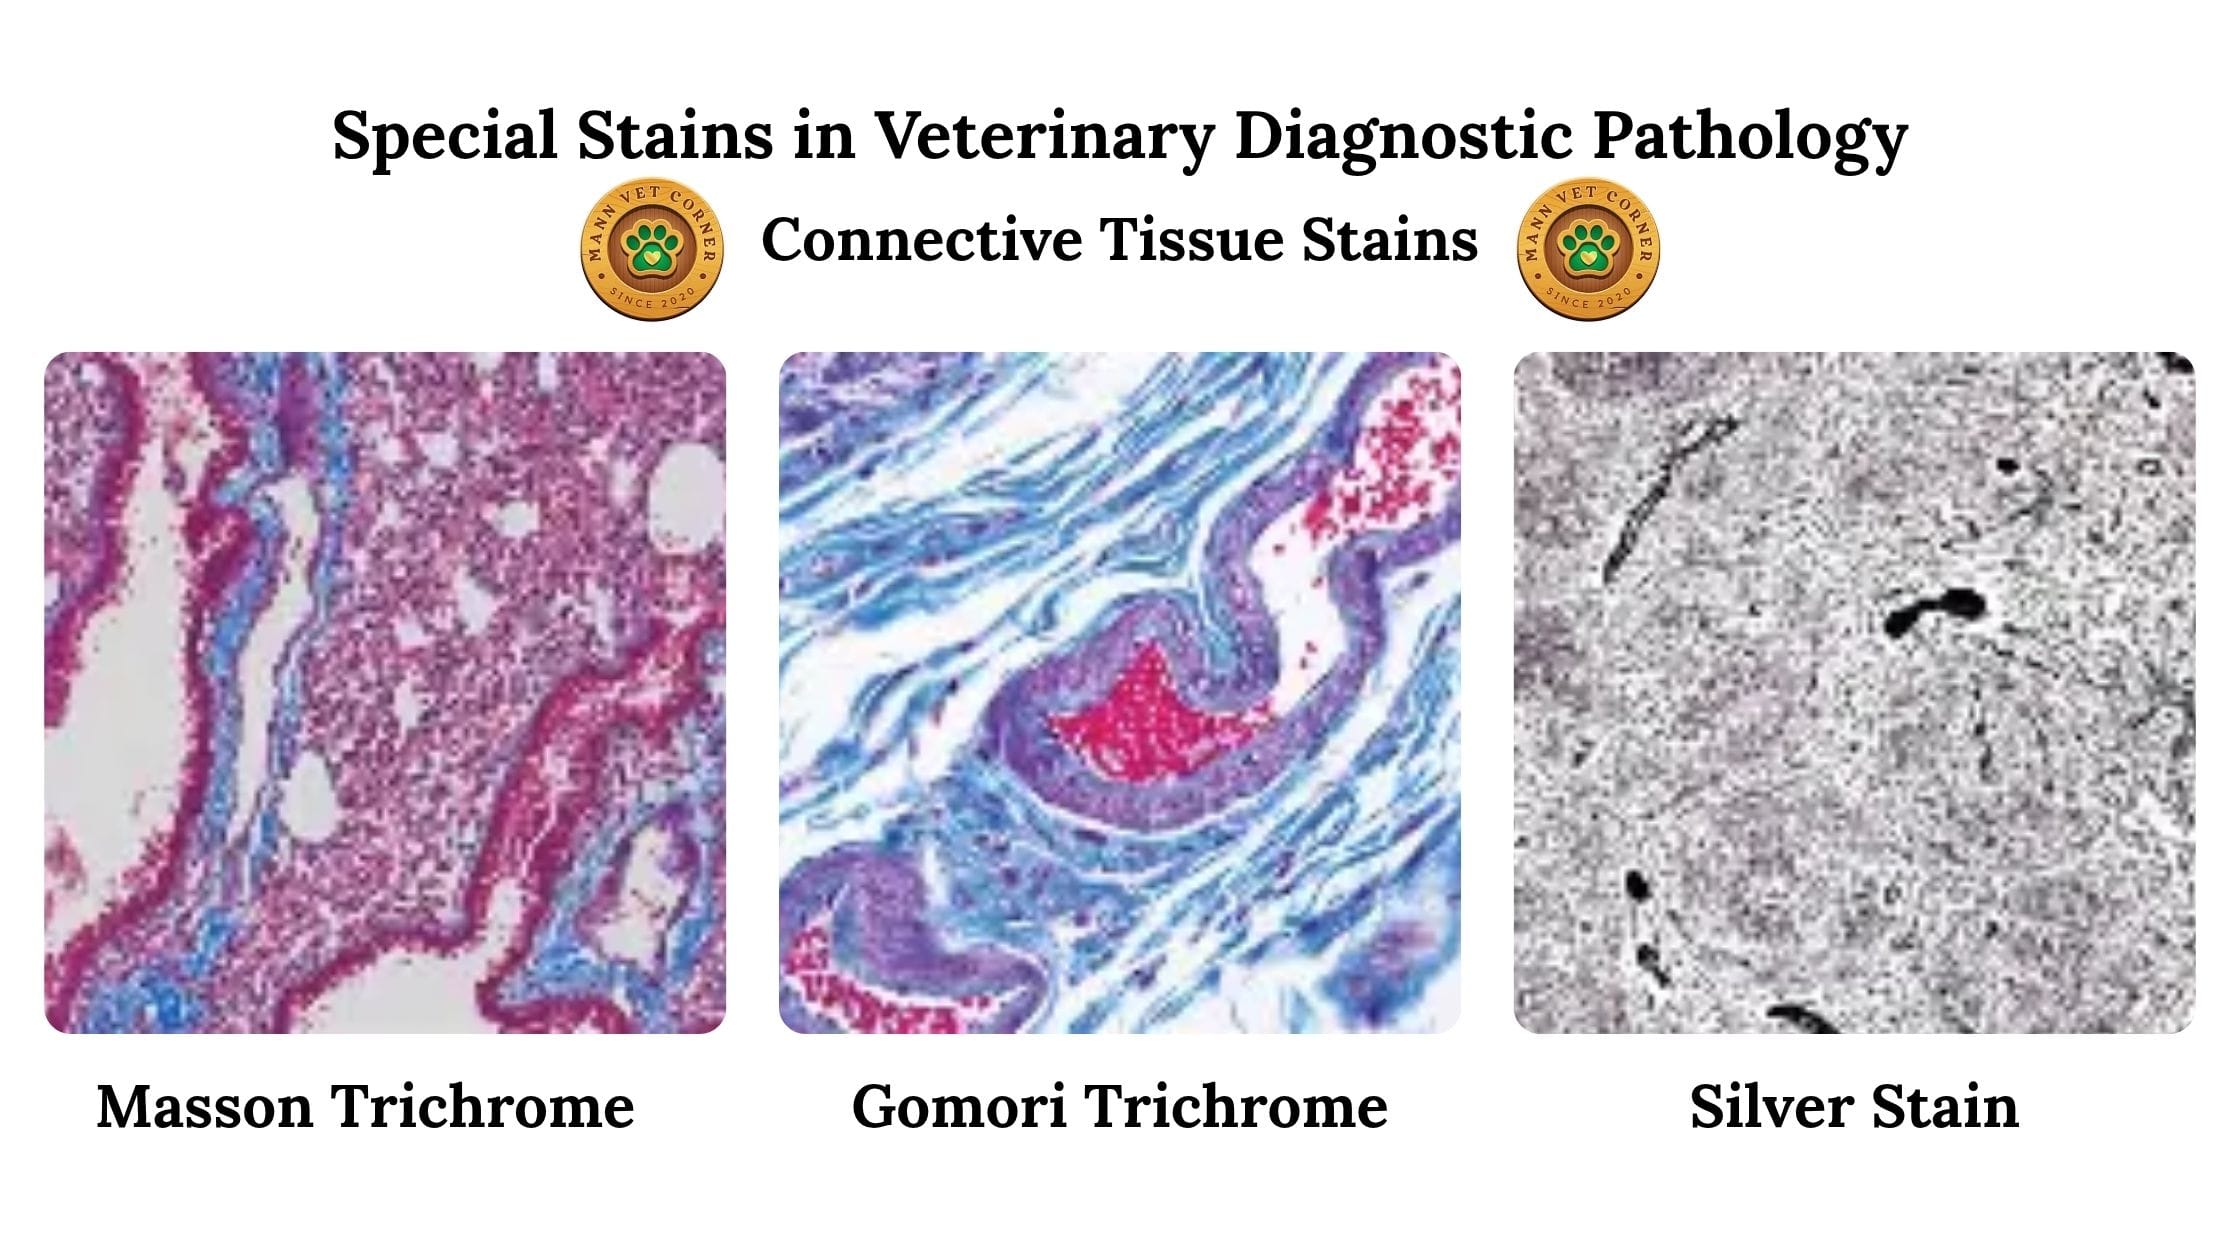
Connective Tissue Stains for Animal Pathology
Masson Trichrome distinguishes muscle from collagen in veterinary samples. Collagen appears blue or green, muscle cells show red, and nuclei stain black. This technique proves invaluable when diagnosing fibrosis in liver, kidney, or heart tissue.
Gomori Trichrome comes in blue and green variants, both identifying muscle fibers and collagen. Veterinarians use these stains when examining cardiac muscle degeneration or skeletal muscle disease.
Silver Stain precipitates metallic silver onto reticular fibers (type III collagen), staining them black. This method reveals fine connective tissue networks in lymph nodes, spleen, and liver.
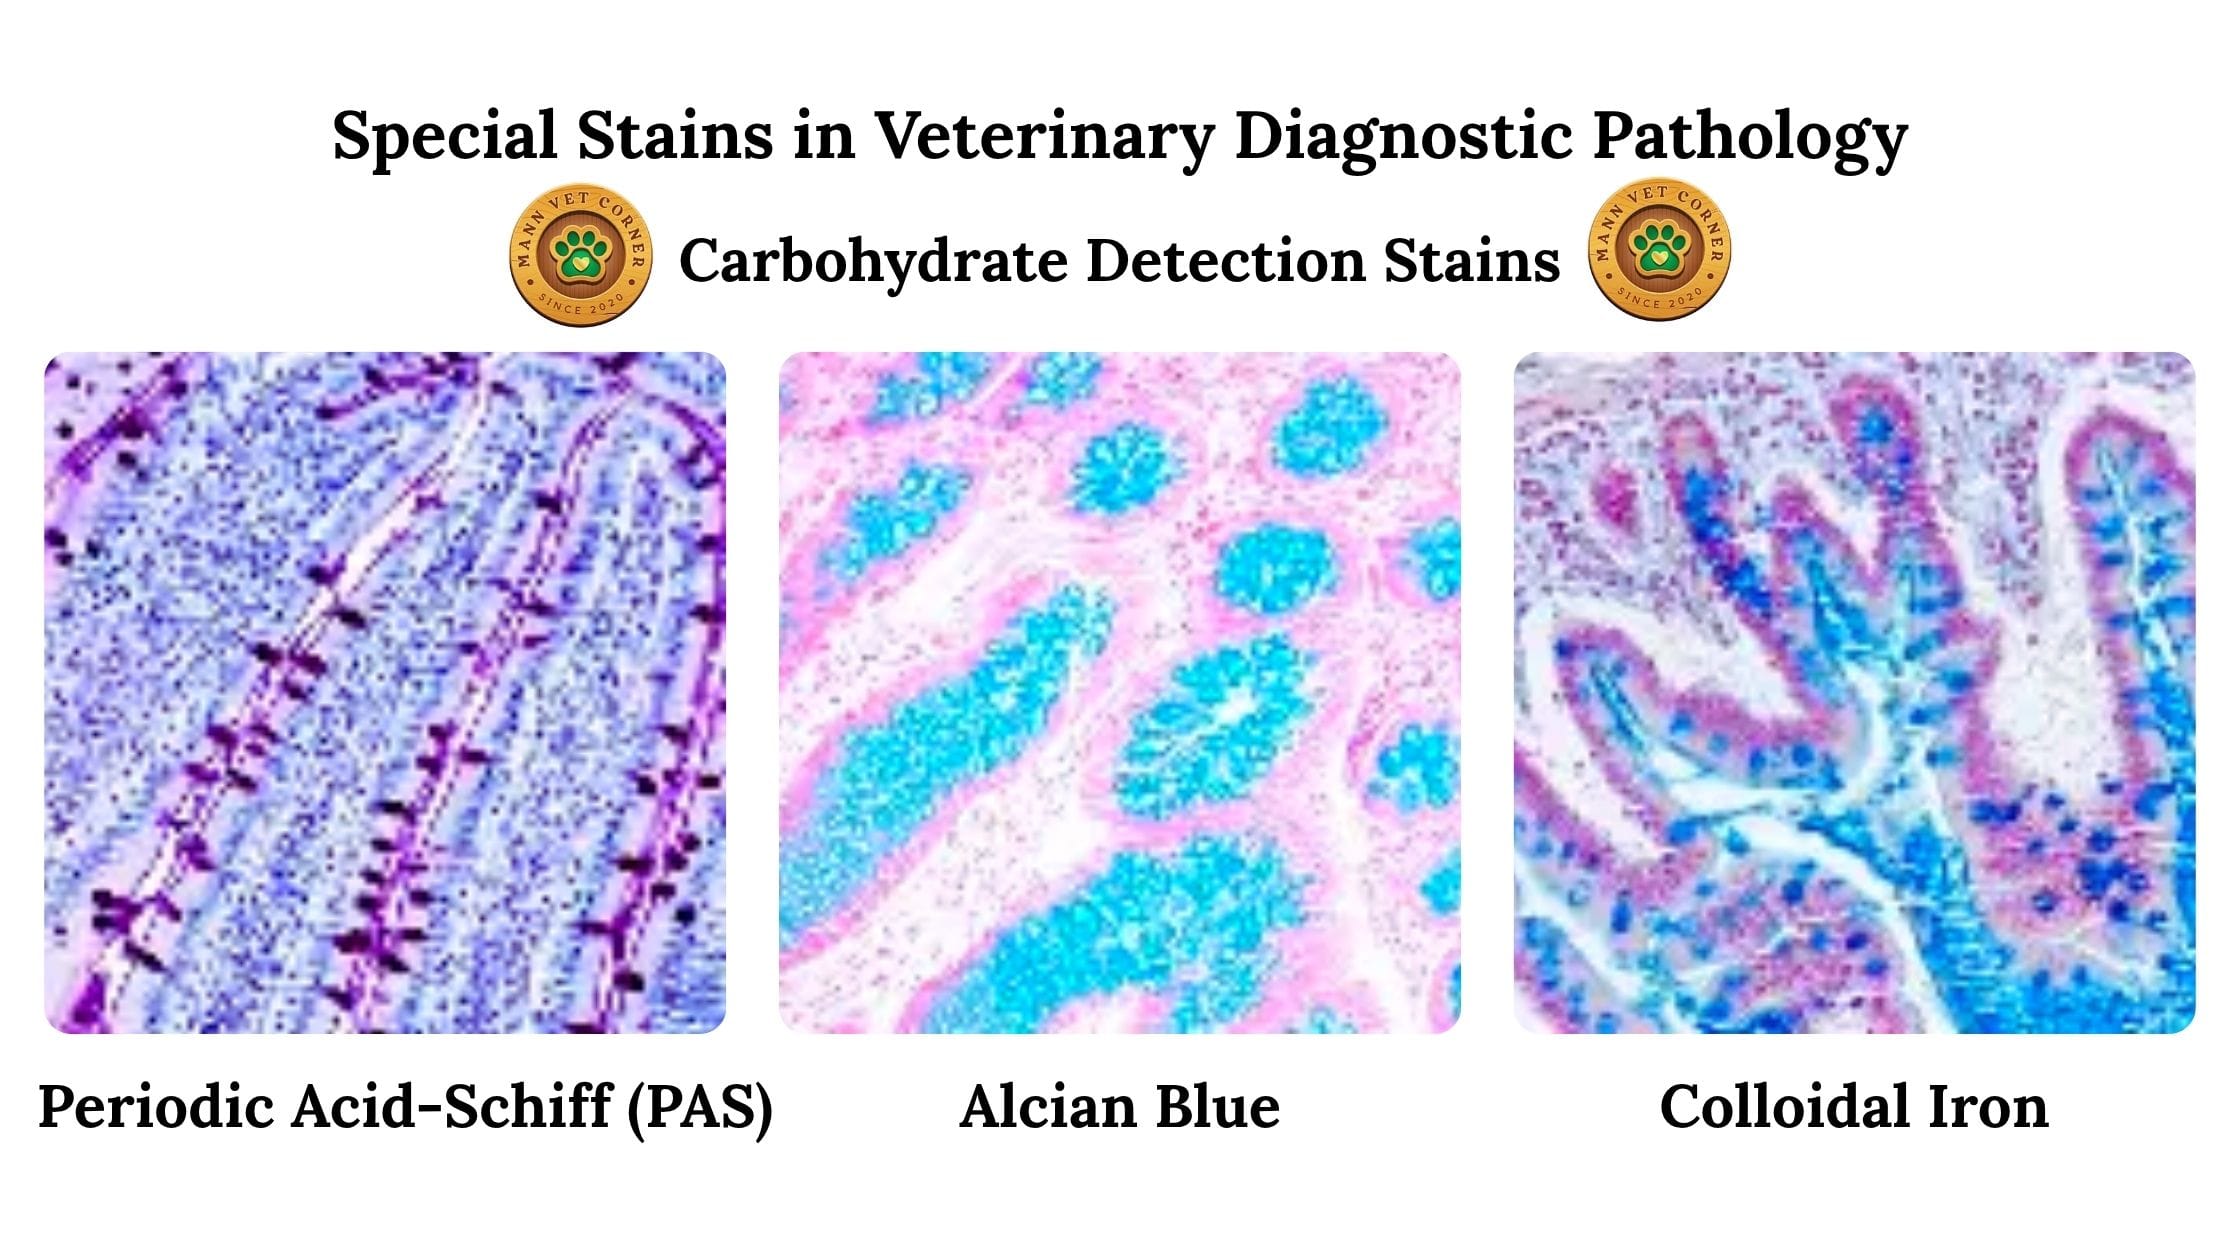
Carbohydrate Detection Stains
Periodic Acid-Schiff (PAS) highlights glycogen, glycoproteins, mucins, and glycolipids. Intestinal epithelium stains pinkish-red while goblet cells turn deep magenta. Veterinary pathologists use PAS for diagnosing storage diseases and identifying fungal organisms.
Alcian Blue specifically stains mucins and cartilage matrix blue. Combined with PAS, it differentiates neutral mucopolysaccharides from acidic varieties, helping diagnose mucin-producing tumors.
Colloidal Iron demonstrates sulfated mucopolysaccharides, staining acid mucins deep blue. This technique aids in cartilage and mucin evaluation.
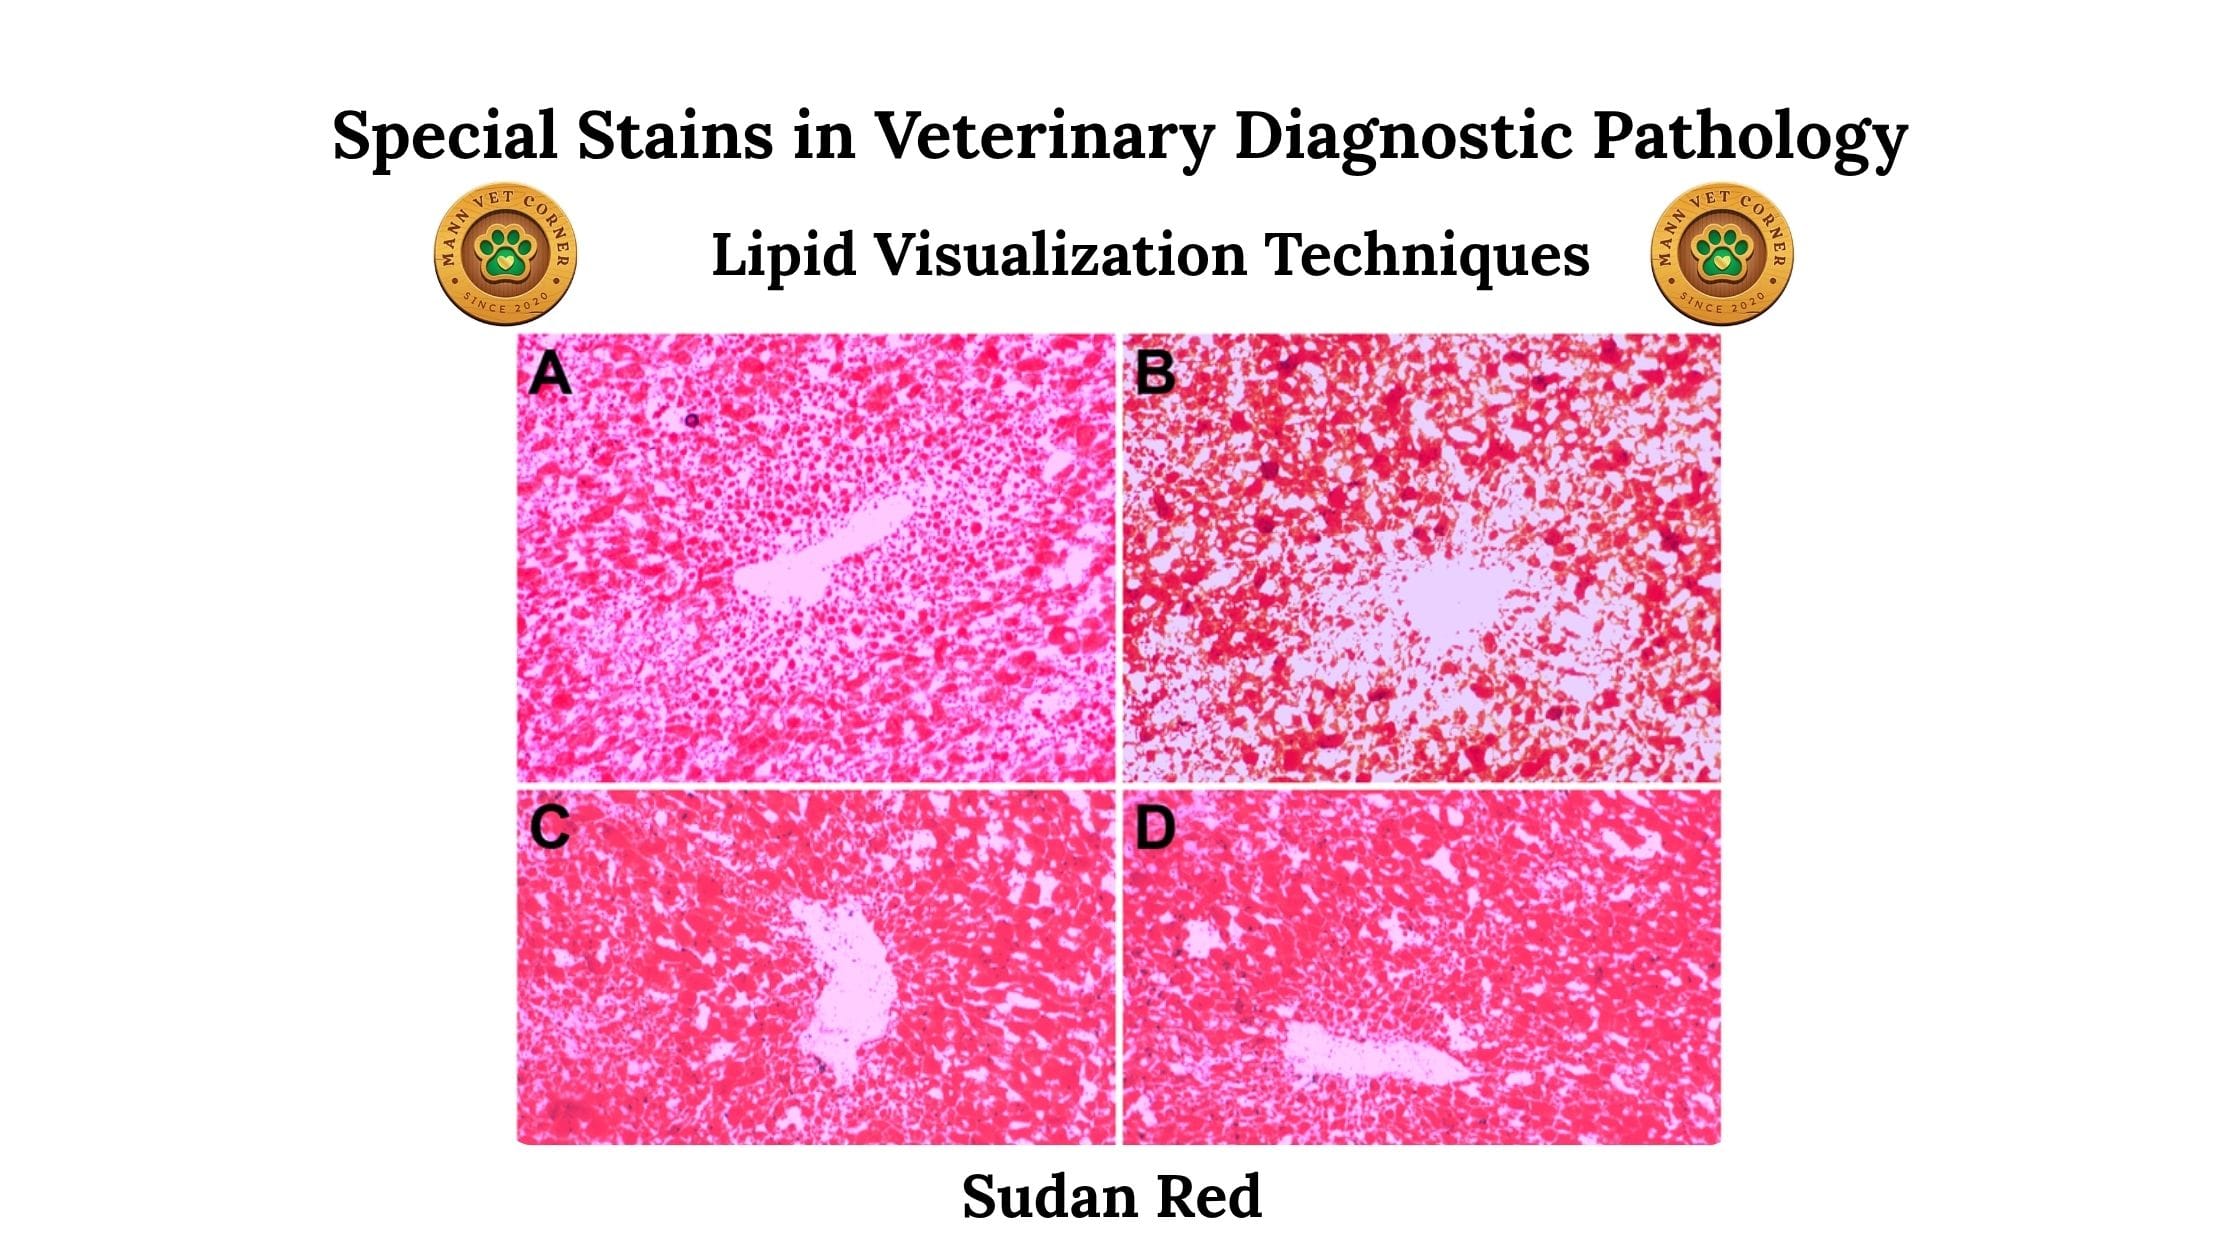
Lipid Visualization Techniques
Sudan Red colors lipids, phospholipids, and triglycerides intense red to orange. Frozen sections require special handling since paraffin processing dissolves lipids. Veterinarians apply Sudan stains when diagnosing fatty liver disease or lipid storage disorders.
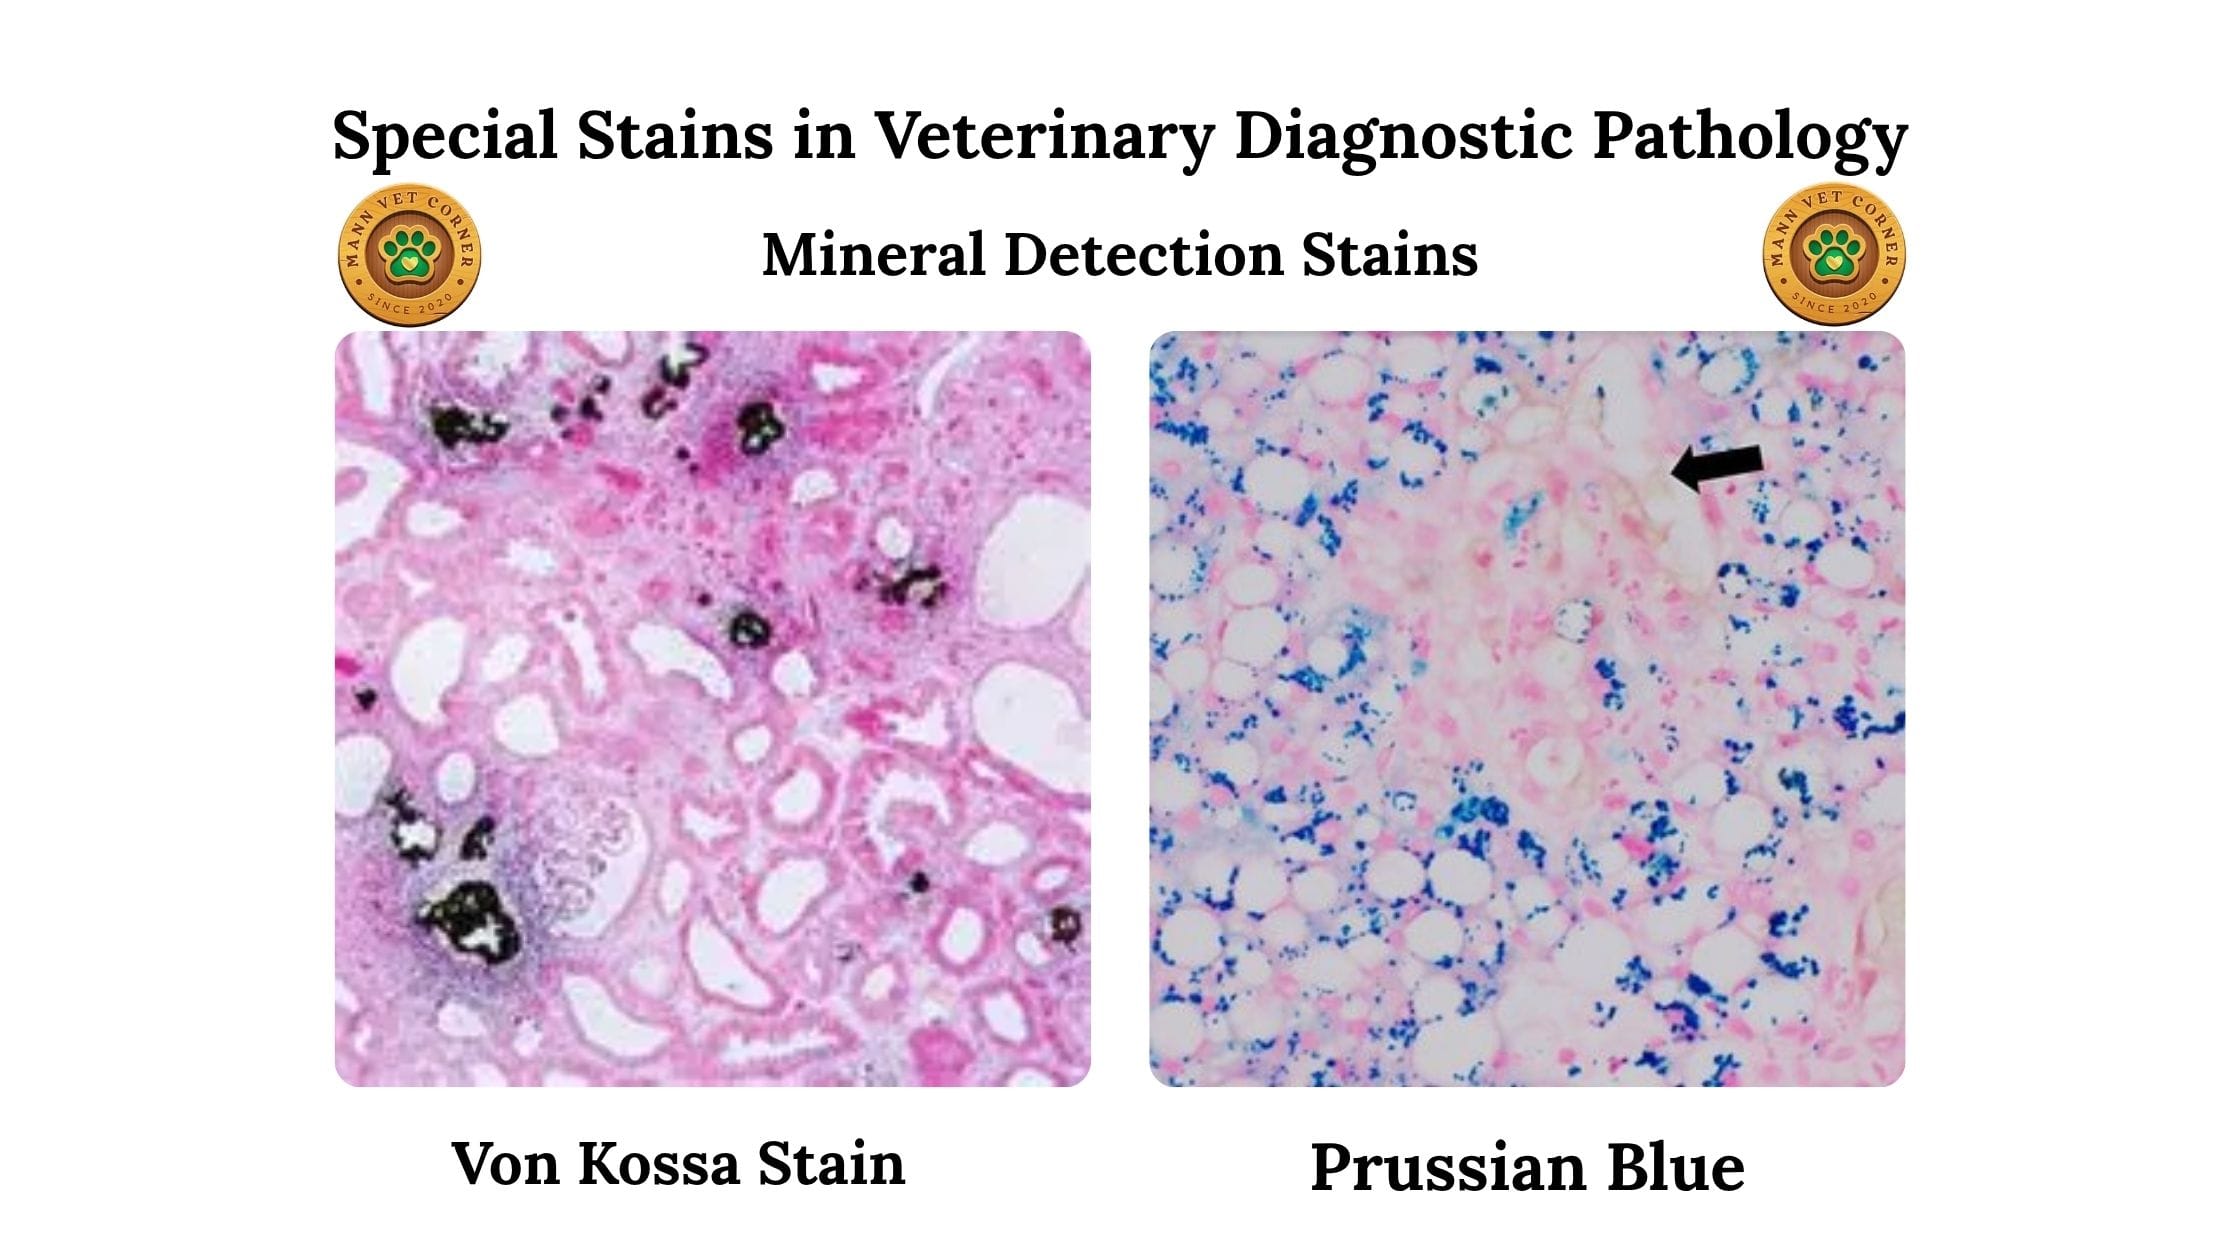
Mineral Detection Stains
Von Kossa Stain uses silver salts to identify calcification, turning calcium deposits black. This proves essential when examining kidney stones, arterial calcification, or dystrophic mineralization in damaged tissues.
Prussian Blue (Iron Stain) detects hemosiderin accumulation, staining ferric iron bright blue. Veterinary pathologists use this when diagnosing hemolytic anemia, liver disease, or chronic hemorrhage.
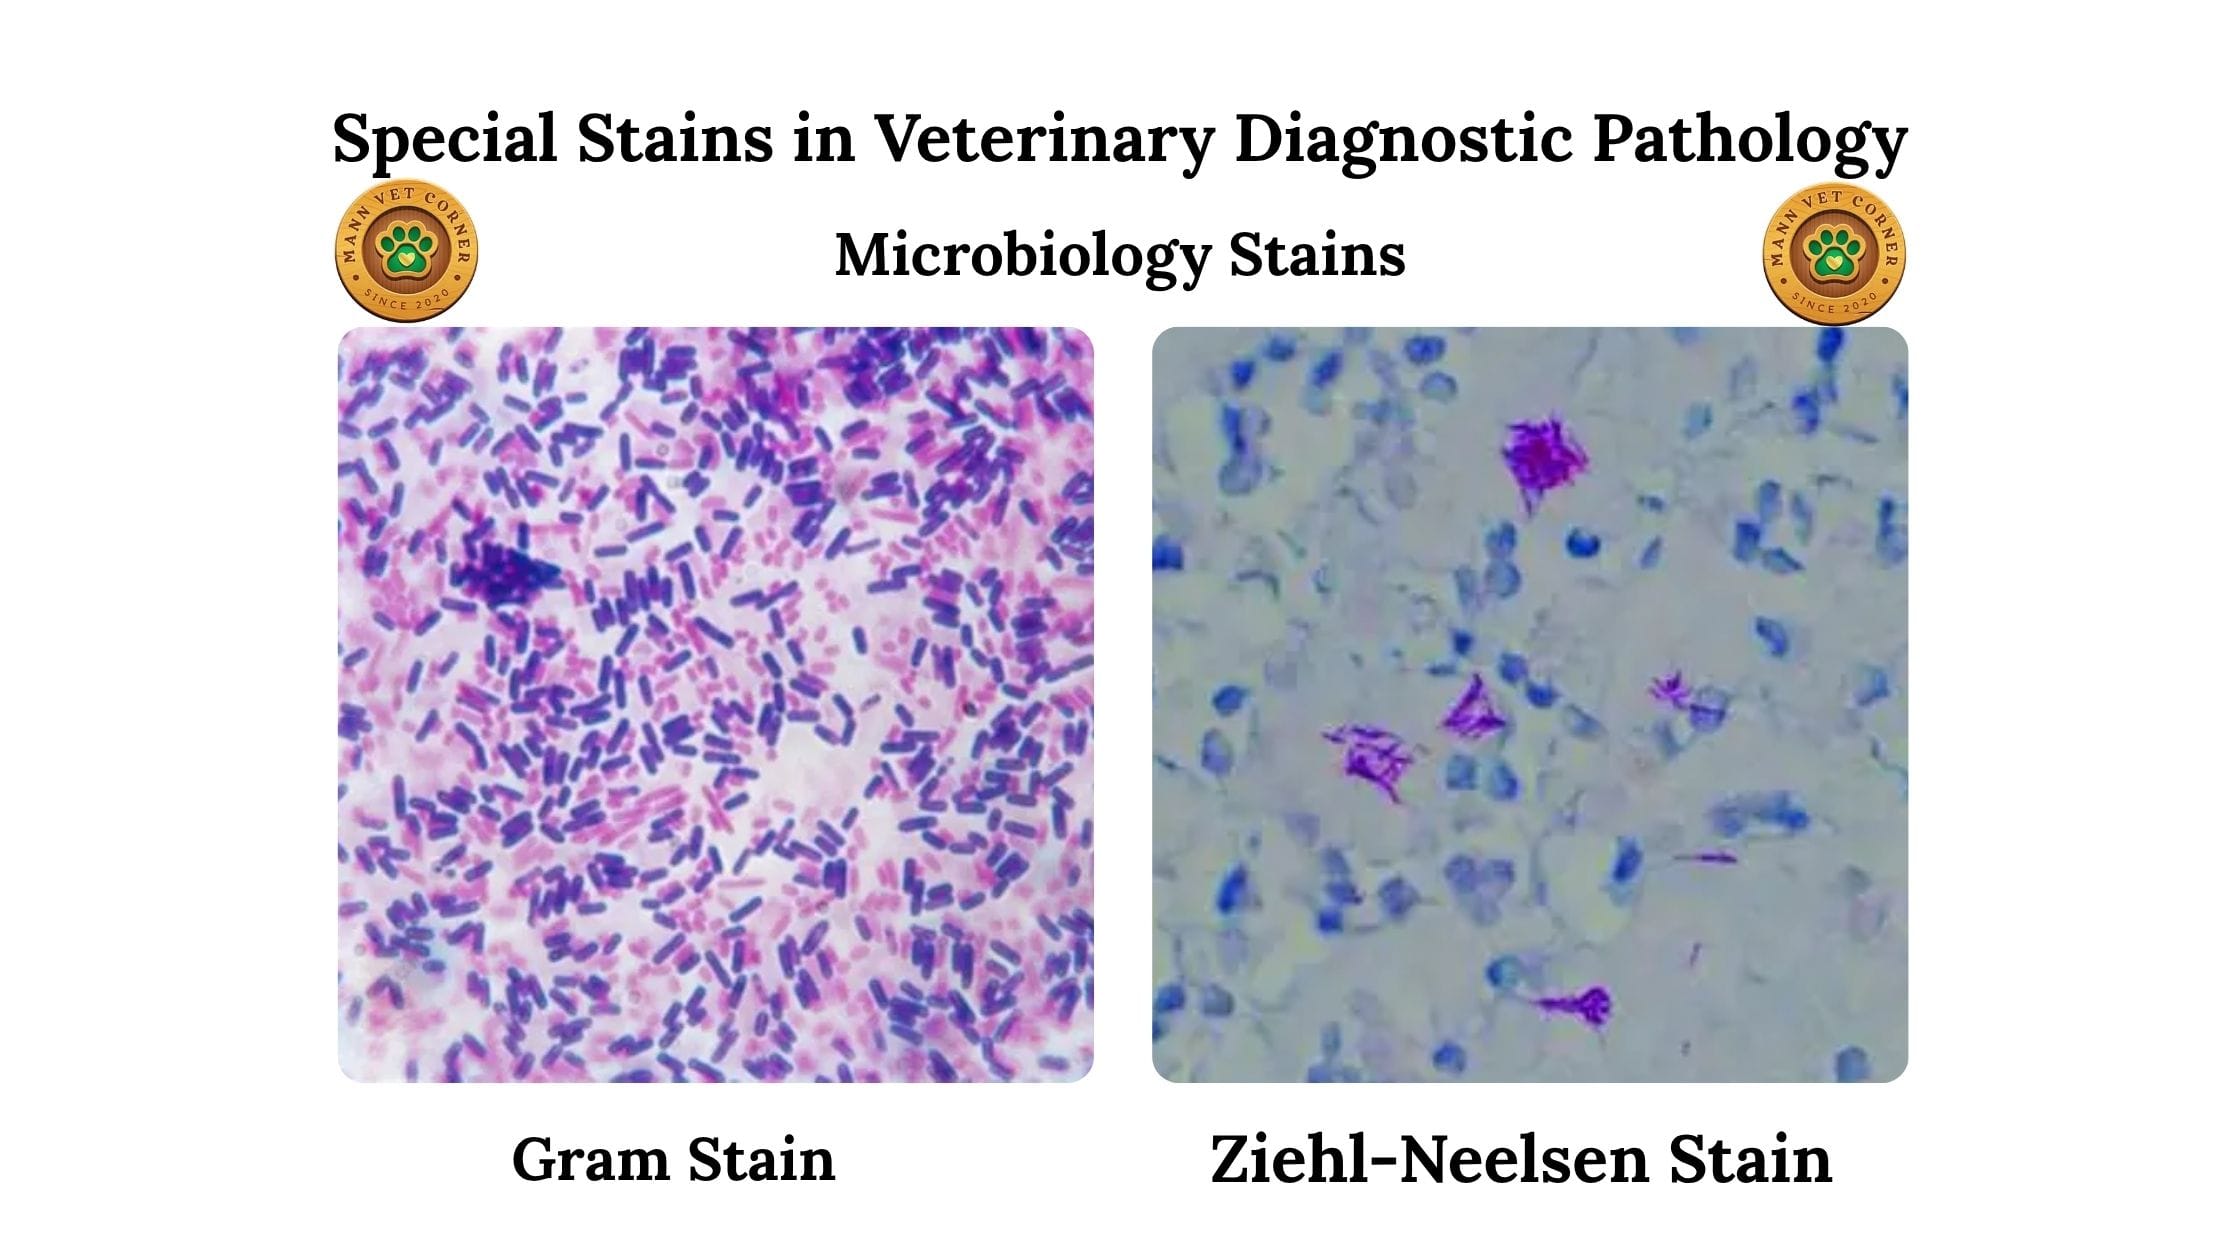
Microbiology Stains in Veterinary Practice
Gram Stain differentiates bacterial species into Gram-positive (purple) and Gram-negative (pink) categories, guiding antibiotic selection.
Ziehl-Neelsen Stain identifies acid-fast bacteria, particularly Mycobacterium species causing tuberculosis in cattle and other animals.
Staining Classifications and Methods
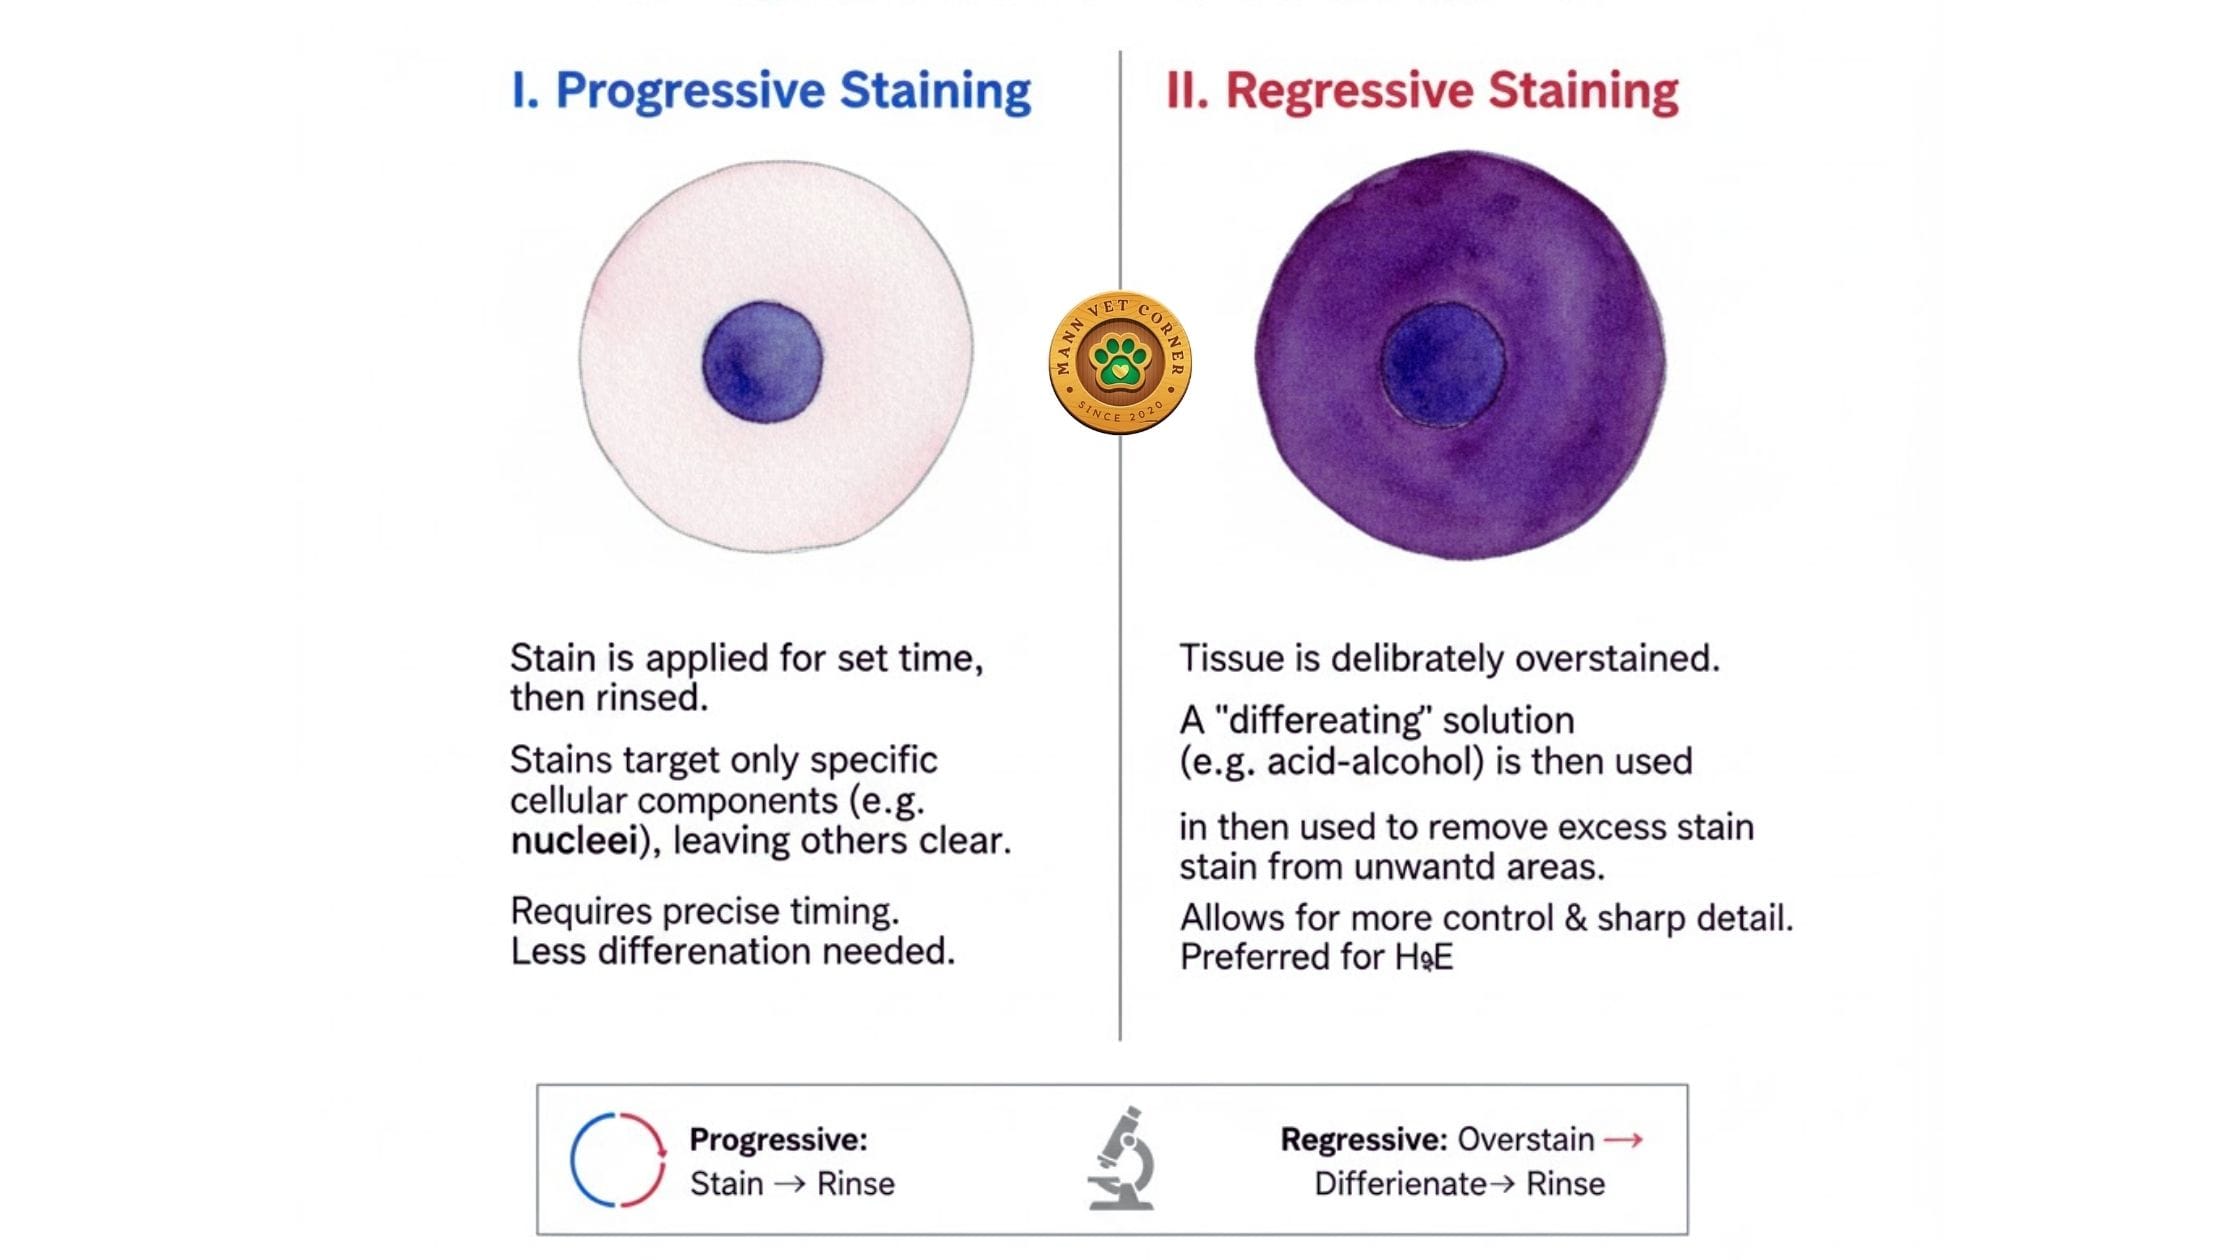
Progressive vs. Regressive Staining
Progressive staining adds dye until desired intensity develops, then stops without removing excess stain. This method requires precise timing and concentration control.
Regressive staining overstains tissues initially, then removes excess dye through differentiation. This approach offers more control over final staining intensity.
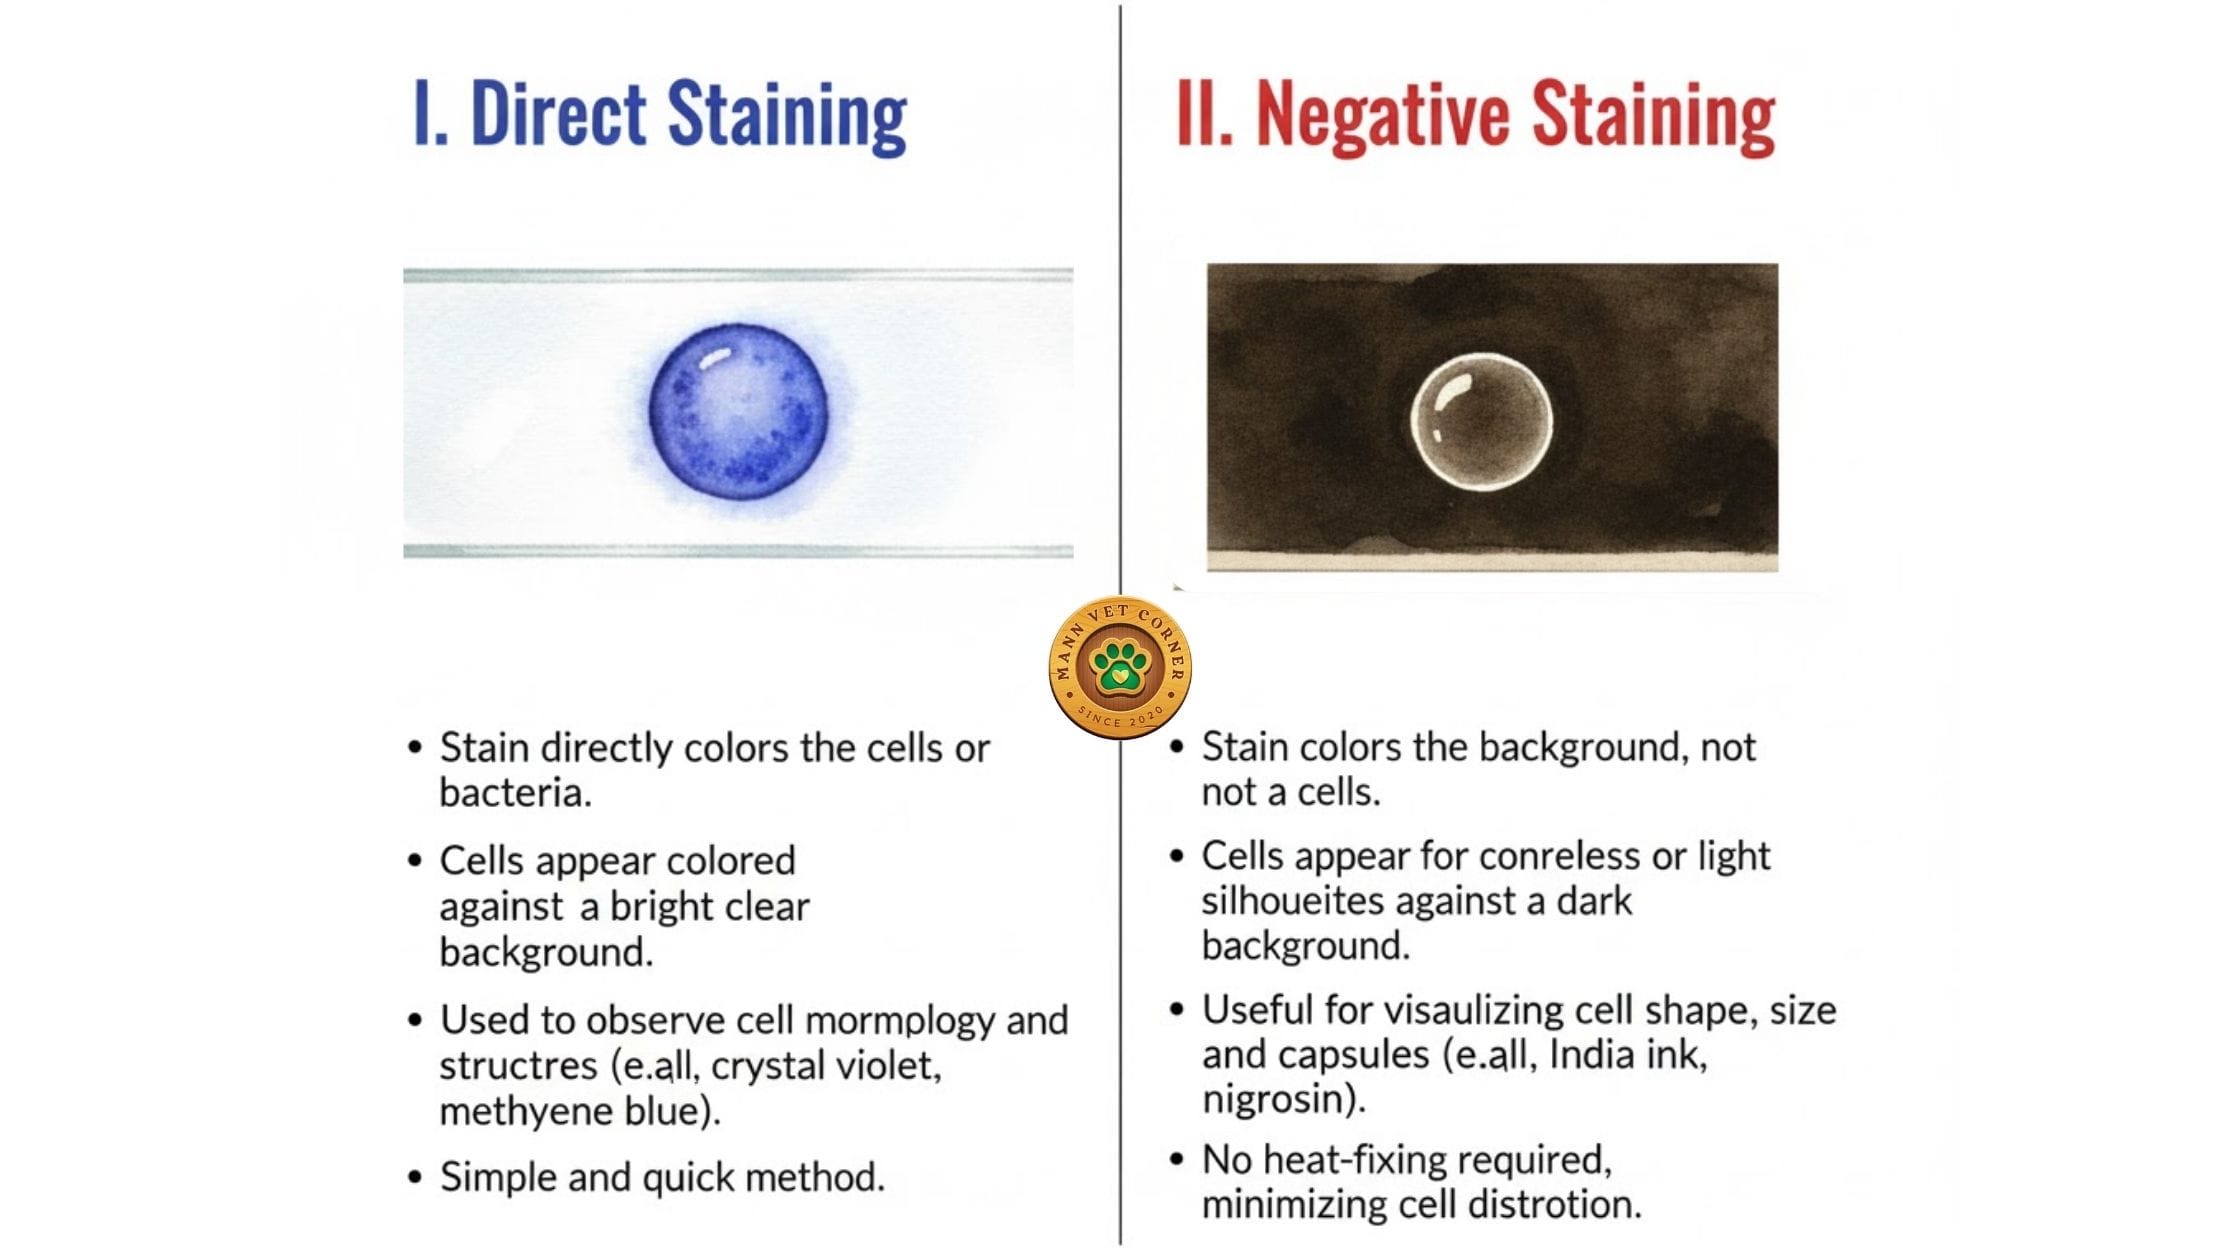
Direct and Negative Staining Techniques
Direct staining colors organisms or cellular elements while leaving backgrounds unstained. Most routine veterinary stains work through direct mechanisms.
Negative staining colors backgrounds, leaving organisms unstained. This technique helps visualize bacterial capsules and some parasites.
Vital Staining in Research Settings
Vital stains color living tissues, requiring injection into live animals or mixing with living cells. Trypan blue and lithium carmine stain specific cell types, though vital staining serves primarily research rather than diagnostic purposes.
Critical Factors for Successful Veterinary Histopathology
Proper Sample Collection and Handling
Fresh tissue collection determines final slide quality. Veterinarians should:
- Collect samples immediately after death or surgery
- Use adequate specimen size (minimum 1cm³)
- Place tissues in fixative within 30 minutes
- Maintain 10:1 fixative-to-tissue ratio
- Avoid crushing or distorting tissues during collection
Laboratory Quality Control Measures
Clean glassware prevents contamination and staining artifacts. All slides, cover slips, and containers require thorough washing.
Correct solvents ensure proper tissue processing. Wrong chemical choices lead to incomplete dehydration or clearing.
Dark storage protects light-sensitive solutions like silver stains and osmic acid preparations.
Fresh preparation of unstable reagents, particularly dilute ammonia solutions, maintains staining consistency.
Filtered stains remove precipitates that create artifacts on finished slides.
Microscope Slide Preparation Best Practices
Temperature control matters during slide drying. Allow warmed slides to reach room temperature before xylene immersion, preventing thermal shock and tissue detachment.
Continuous processing prevents section drying once dewaxing begins. Dried sections show staining artifacts and poor morphology.
Proper stain levels ensure consistent results. Technicians should maintain adequate solution volumes in staining dishes.
Fresh water baths between staining runs prevent cross-contamination and maintain water purity.
Complete drainage before moving between solutions prevents carryover and dilution.
Automated vs. Manual Staining in Veterinary Labs
Modern veterinary diagnostic laboratories increasingly adopt automated staining equipment. These machines offer consistency, reduce technician variability, and process multiple slides simultaneously.
Automated systems excel at routine H&E staining, maintaining precise timing and reagent concentrations. However, special stains often require manual attention, particularly when working with unusual animal tissues or rare conditions.
Small veterinary practices and research facilities may continue manual staining, which offers flexibility and lower equipment costs while requiring skilled technicians who understand staining chemistry.
Common Artifacts and Troubleshooting
Float Artifacts
Wrinkled or folded sections result from improper water bath technique. Maintaining correct water temperature and careful section handling minimize these problems.
Staining Inconsistencies
Faded or overstained slides indicate expired reagents or incorrect timing. Regular solution replacement and documented protocols prevent these issues.
Section Detachment
Poor adhesion between tissue and slides causes section loss during staining. Charged slides and proper drying improve tissue adherence.
The Role of Histopathology in Veterinary Diagnosis
Histopathological examination provides definitive diagnosis for numerous animal diseases:
Cancer diagnosis requires microscopic tissue examination, distinguishing benign from malignant tumors and determining cancer types.
Infectious disease identification reveals bacterial, viral, fungal, and parasitic organisms within tissues.
Inflammatory condition assessment characterizes acute versus chronic inflammation and identifies underlying causes.
Organ dysfunction evaluation shows degenerative changes, fibrosis, and structural abnormalities affecting liver, kidney, heart, and other organs.
Toxicology investigations document tissue damage patterns suggesting poisoning or toxin exposure.
Future Directions in Veterinary Histopathology
Digital pathology transforms how veterinarians examine tissue samples. Whole-slide imaging creates high-resolution digital files, enabling remote consultation, artificial intelligence analysis, and permanent digital archives.
Immunohistochemistry expands beyond traditional staining, using antibodies to detect specific proteins within tissues. This technique improves cancer classification and infectious disease diagnosis.
Molecular pathology techniques integrate with traditional histopathology, combining microscopic examination with genetic analysis for precision diagnosis and targeted treatment selection.
Conclusion
Histopathology techniques remain fundamental to veterinary diagnostic pathology. From initial tissue collection through final microscopic examination, each processing step requires attention to detail and adherence to established protocols. Understanding fixation methods, mastering staining techniques, and recognizing tissue artifacts enable accurate disease diagnosis in animals. Whether examining routine biopsy samples or investigating disease outbreaks, veterinary professionals depend on quality histopathology for patient care and herd health management.
Key Takeaways:
- Proper tissue fixation in 10% buffered formalin preserves cellular details
- H&E staining serves as the foundation for veterinary tissue examination
- Special stains reveal specific tissue components invisible with routine methods
- Quality control throughout processing ensures diagnostic accuracy
- Histopathology provides definitive diagnosis for cancer, infections, and organ disease in animals